!As of Windows 10 build 16193, Windows Firewall was renamed to Windows Defender Firewall.
This tool helps block unauthorized access from the internet or other networks, protecting your PC from hackers and harmful software.
While Windows often creates necessary exceptions automatically, users can also manually allow certain apps through the firewall if needed.
In this article, we will explain how to add or remove apps allowed through Windows Defender Firewall.
To add or remove apps allowed through Windows Defender Firewall, just follow the next steps:
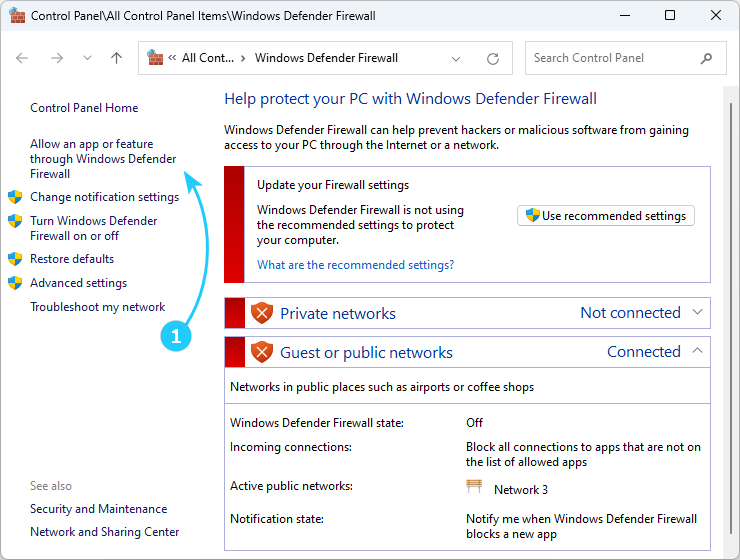
- First, open the Windows Defender Firewall menu in Control Panel. You can find it by typing Windows Defender Firewall in Start Search Bar.
- In the window that opens, click on Allow an app on feature through Windows Firewall under the Control Panel Home area to get to the Allowed Apps window.
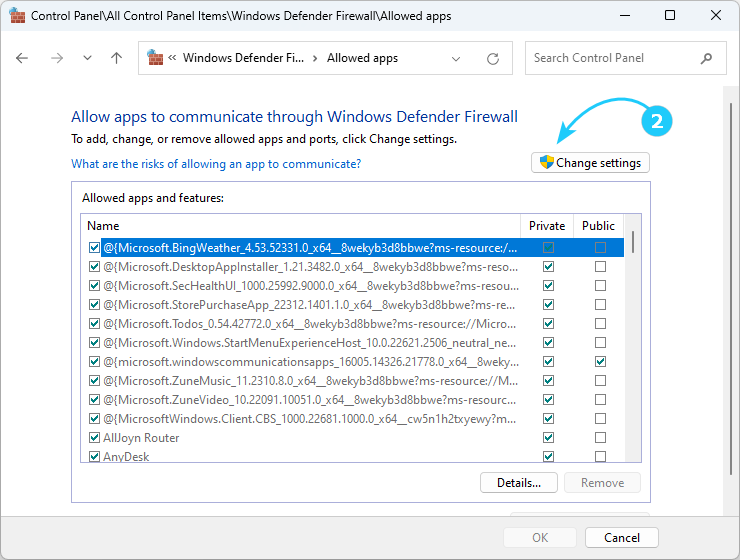
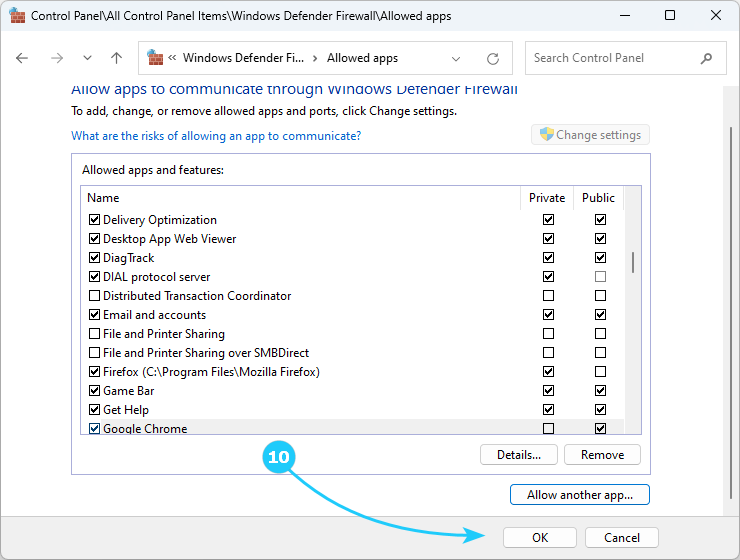
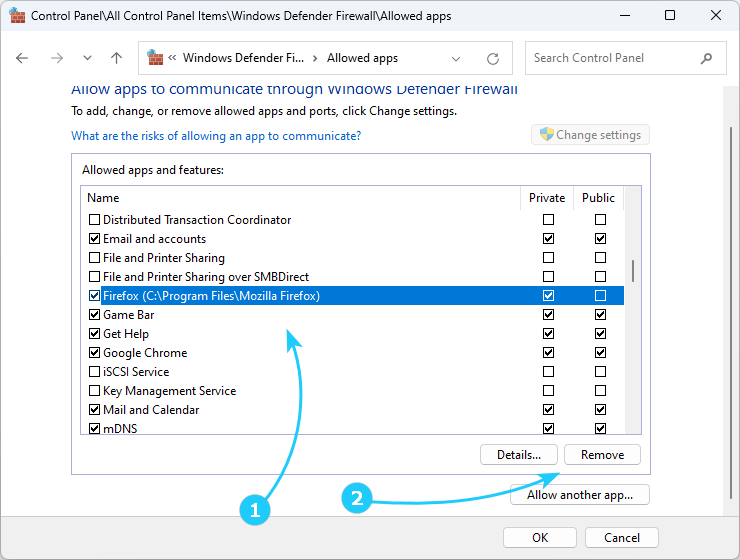
- In the Allowed Apps window click on Change Settings button to ungray the rest of the settings.
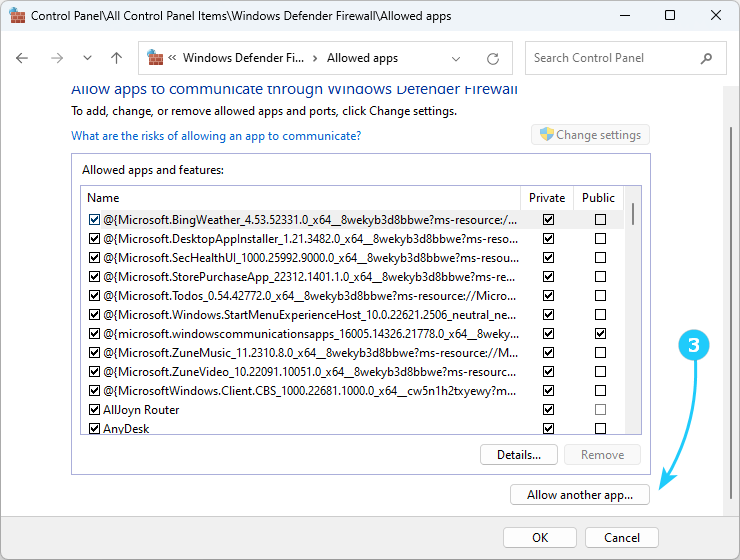
- Now click on Allow another app button.
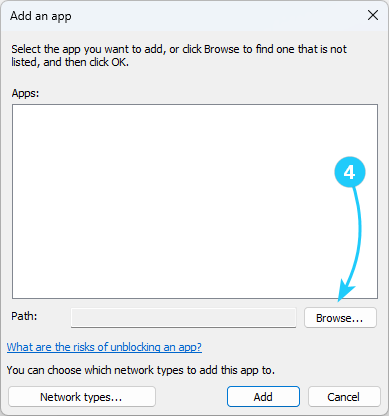
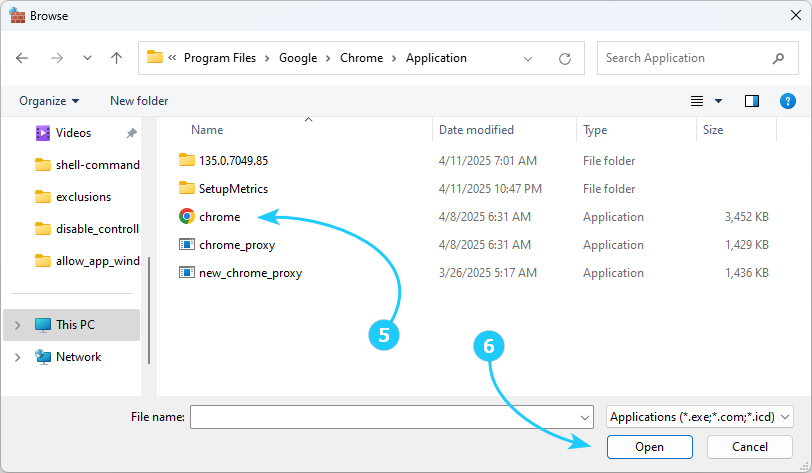
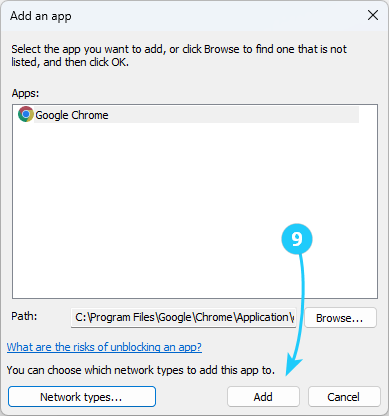
- On the newly opened screen click on the Browse button to select an app you wish to add as allowed through Windows Defender Firewall.
- Select the app (Google Chrome in this example) in the menu and click the Open button.
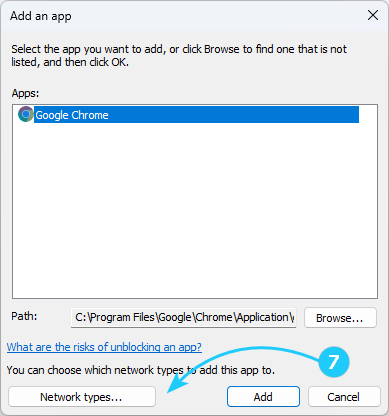
- Now, select the Network types button on the bottom of the screen.
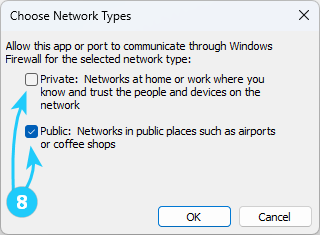
- Choose your desired network locations (private or public) for the chosen app.
- Click the Add button.
- Finish the process by pressing the Ok button.
- If you want to remove an app from allowed through Windows Defender Firewall, on the same menu choose the desired app, then press the Remove button.