!If you have a limited internet connection with data usage restrictions, it will be very useful for you to monitor your network usage to avoid unnecessary expenses.
Windows 11 has a built-in network monitor that shows how much data your applications are using.
In this article, we will explain in detail how to check network data usage in Windows 11.
To check Network Data Usage in Windows 11, just follow the next steps:
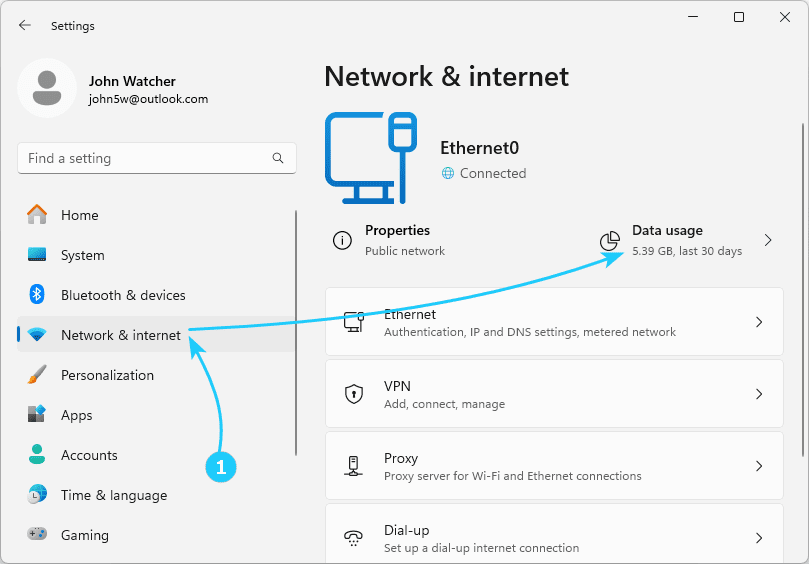
- First, use the key combination Win + I to launch the Settings application,
and in it, go to Network & internet, where you should click on Data usage in the upper right corner.
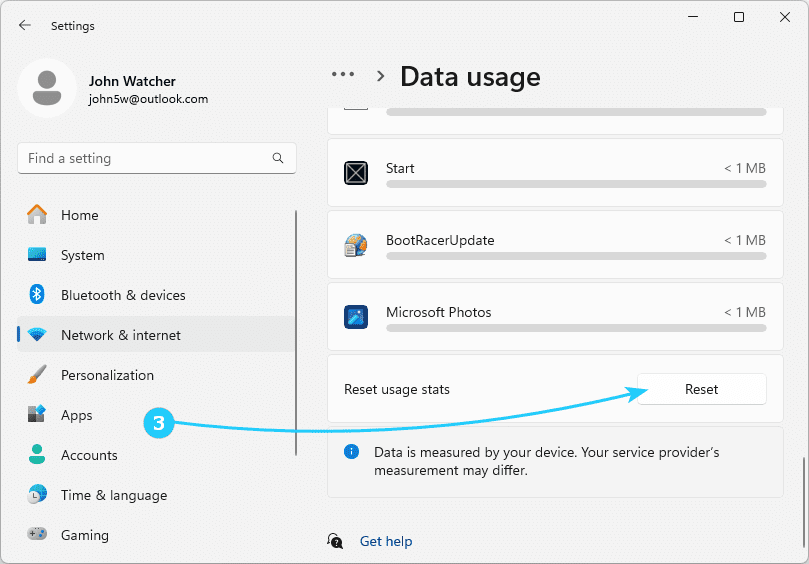
- In the window that opens, you will see a list of applications that have used the current connection over the past 30 days.
To find out the volume of data transferred on another adapter, select it from the list in the upper right corner.
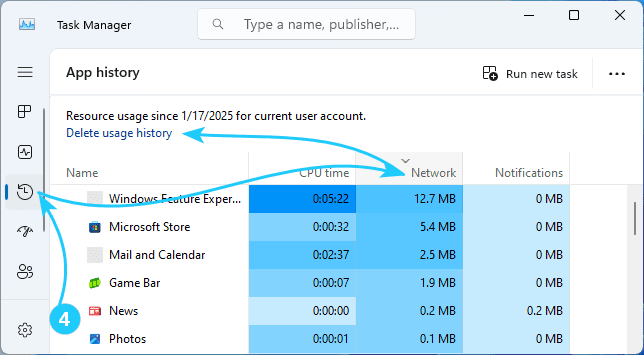
- To reset the data usage statistics, find the Reset button at the bottom of the list of applications and click it.
After that, in the confirmation prompt that appears, click the Reset button again.
As a result, the data usage statistics for this adapter will be cleared.
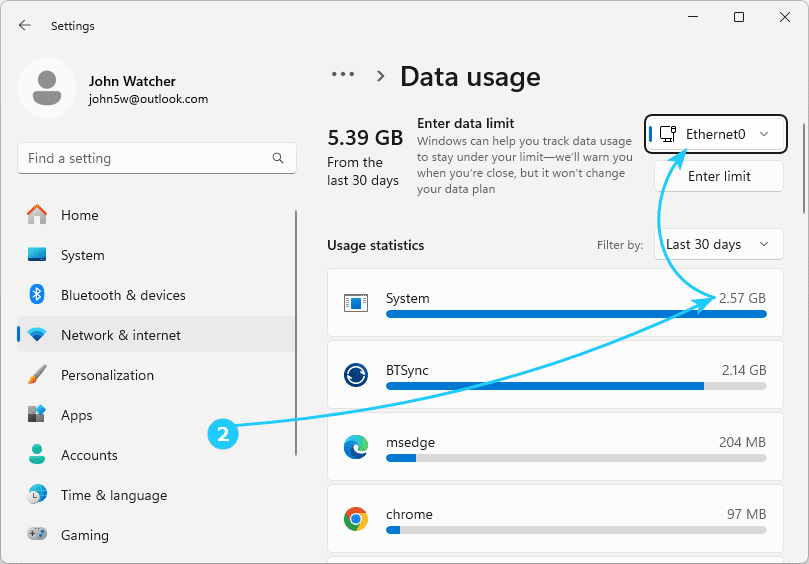
- You can also view and reset the data usage statistics in the task manager.
To do this, simply go to the App History tab and see the data volumes in the History column,
and to reset the statistics, click Delete usage history.