In this article, we will explain how to take a screenshot using the standard tools in Windows 11.
To take screenshot in Windows 11, just follow the next steps:
- First of all, you can use the combination Win + Print Screen.
On some laptops, you may also need to press the function key Fn, in which case the full key combination will be Win + Fn + Print Screen.
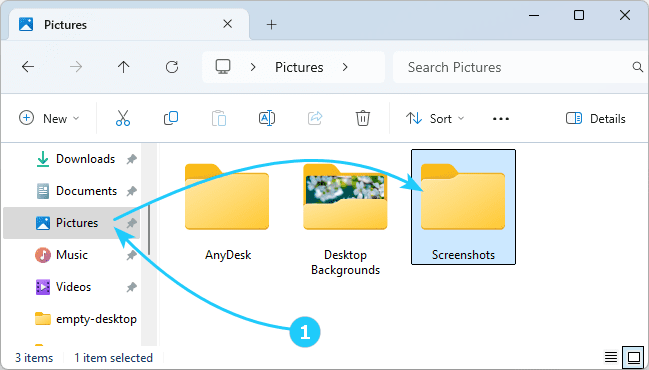
As a result of pressing this combination, the screen will darken for half a second and then return to normal brightness, while the screenshot will be automatically saved in This PC\Pictures\Screenshots under the name Screenshot ().png.
- In addition, you can use a single keystroke Print Screen.
In this case, a copy of the screen will be placed in the clipboard, from where you can paste it into any graphics editor, such as Paint, and save it.
- Using the combination Alt + Print Screen will save not the entire screen to the clipboard, but only the currently active application window.
By analogy with point 1, in some cases it may be necessary to connect the Fn key, and in this case the full key combination will be Alt + Fn + Print Screen.
- Finally, starting with Windows 10 build 15002, you can use the built-in Snipping Tool utility.
For example, to take a screenshot of an area of the screen, just press the combination Win + Shift + S, after which the mouse cursor will change to a cross and you will only need to select the area to save to the clipboard.