!In this article, we'll show you how to set exclusions for Windows Defender scanning of folders.
To set or remove Windows Defender exclusions for folders, just follow the next steps:
- First, using the key combination Win + I, launch the Settings application, and in it go to Privacy & Security, in which you should click on Windows Security.
- In the window that opens, click on Virus & threat protection, and then go to Manage settings > Add or remove exclusions.
- After that, select Add an exclusion and select an option from File, Folder, File type and Process according to your needs, in our case choose Folder.
You can remove the exclusion right here. To do this, just click on it, and then on the Remove button that appears.
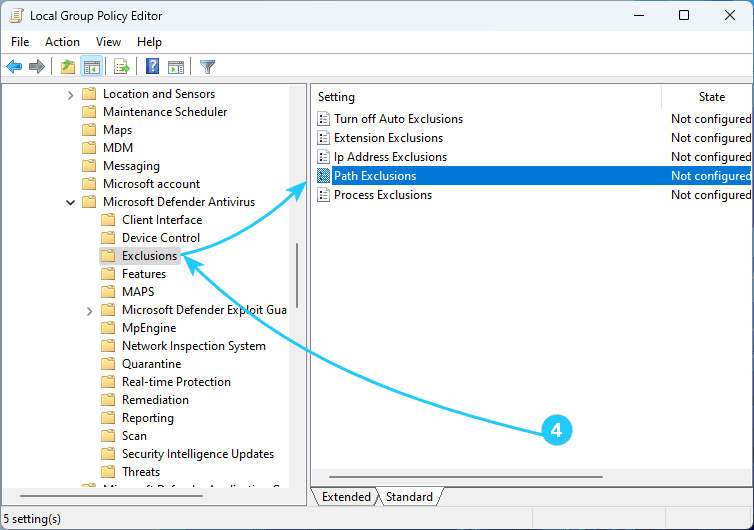
- Then launch the Group Policy Editor by pressing Win + R and running gpedit.msc.
In the policy editor, go to the Computer Configuration\Administrative Templates\Windows Components\Microsoft Defender Antivirus\Exclusions branch in the tree.
- To exclude a folder or file, double-click Path Exclusions and add the desired exclusions:
Set the parameter to Enabled.
In the Options section, click Show.
Specify each folder on a separate row in the Value Name column and 0 as the Value.
If you specify a file, make sure you enter the full path to the file, including the drive letter, folder path, file name, and extension.