As for its purpose, the WinSxS folder stores DLL libraries, some drivers, executable files, and other Windows files, both those already in use in the system and those available for installation.
In addition, the folder is used for:
1) Providing the required version of libraries when running software that requires a specific version.
2) Restoring system files
3) Installing additional Windows components
4) Removing Windows updates
5) Changing the operating system edition
That's why this folder is so big, and it's actually okay.
But you still want to reduce its size? Then this article is for you.
To safely clean the large WinSxS folder in Windows 11, just follow the next steps:
- First of all, you should correctly estimate its true size.
The thing is that Explorer incorrectly displays its size due to some features of storing and using files in this folder.
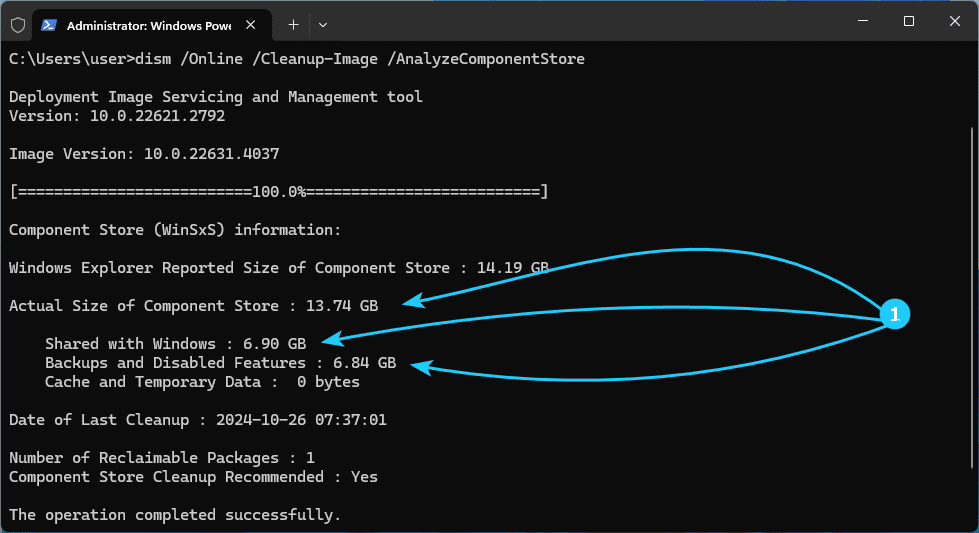
To correctly calculate the occupied space, run the command dism /Online /Cleanup-Image /AnalyzeComponentStore from the command line launched with administrator rights.
As a result, you will see, among other things, Actual size of Component Store, Shared with Windows and Backups and Disabled Features.
It is quite possible to work with all the files not used in Windows in order to reduce them, which is what we will do next.
- You can't just delete the WinSxS folder. More precisely, you can, but only once - the last time for your OS.
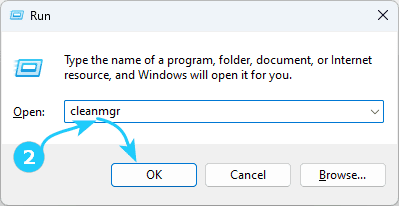
Therefore, you should use the Disk cleanup utility, which should be launched with the shortcut Win + R, entering cleanmgr and clicking OK.
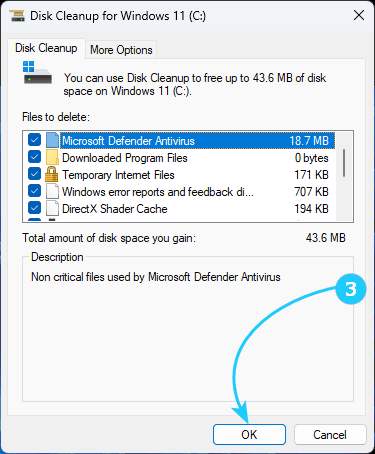
- In the window that appears, first of all, mark the elements related to Windows updates and previous versions of the system and click OK.
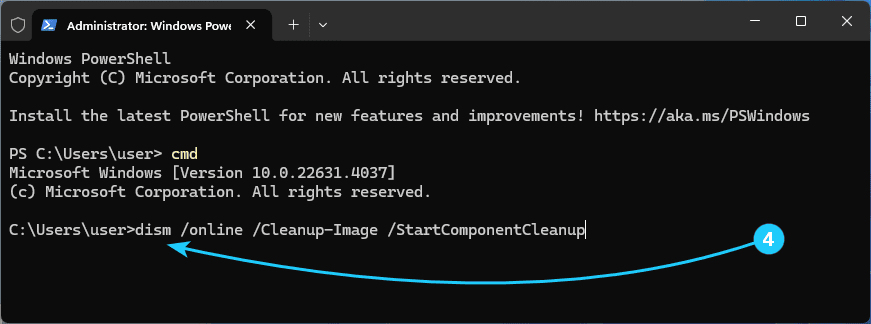
- Then you can perform a component store cleanup from a command line running as an administrator using the command dism /online /Cleanup-Image /StartComponentCleanup.
If you see error messages related to another transaction when running the command, you should reboot the computer and repeat this step.
- Next, in the same command line, launched as administrator, execute the following commands:
dism /online /Cleanup-Image /StartComponentCleanup /ResetBase
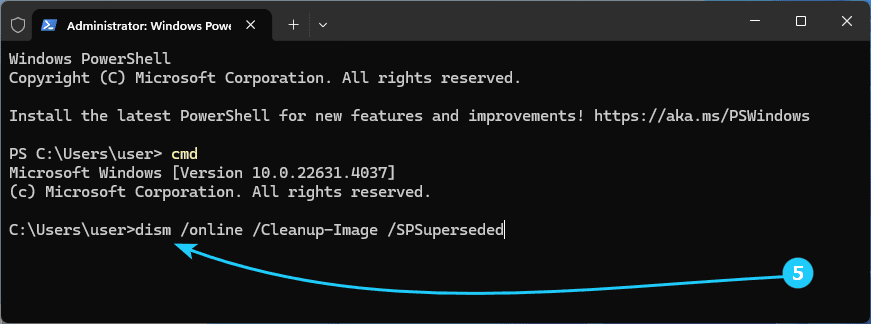
dism /online /Cleanup-Image /SPSuperseded.
The first one will remove all components replaced by new versions. The second one will remove backup copies of service packs.
- Then you can remove the disabled components.
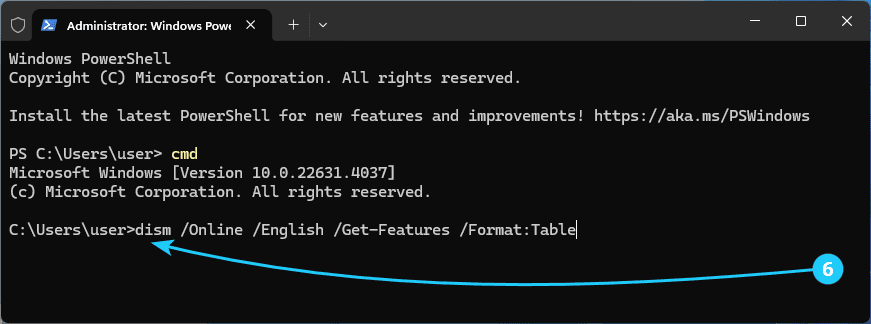
To do this, first list all components with the command dism /Online /English /Get-Features /Format:Table, launched in the same command line, launched as administrator.
We will only be interested in components with the status Disabled.
- After that, you can remove each disabled component using the command dism /Online /Disable-Feature /featurename:COMPONENT_NAME /Remove, launched in the same command line, launched as administrator.
- Finally, after executing all commands, all that remains is to reboot the computer.
